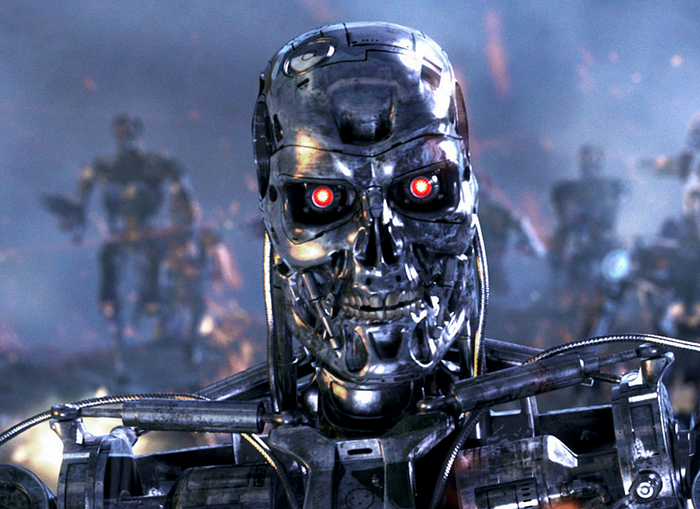
Have you ever wondered how Terminator robots actually see the world? How do they tell if an enemy is approaching?
The answer is in the two red demonic eyes you see in the picture above. Terminators have two cameras capable of facing the same direction which enables Binocular Vision.
In fact, these sci-fi robots in James Cameron’s all-time film are based almost entirely on the human body…and this includes the eyes.

Each one of our eyes captures its own image in 2D. The magic of depth perception (3D) actually comes from the brain, which extrapolates the similarities and differences in the two ‘images’ .
The simple pinhole camera is in fact based on a human eye, and similar to the human eye, it loses all depth information due to a process called Perspective projection.
So then how do we perceive depth using cameras? We use two of them!
Why does this matter?
Before getting into the 'how’, let’s understand the 'why’.
Imagine you need to create an environmental garbage-collection robot. However, you do not want to invest heavily in LiDAR technology to determine how far the trash is. This is where Stereo Vision comes into play. Using two regular pin-hole cameras to not only detect depth but also use the same camera for other Machine Learning tasks (such as Object Detection) can be a huge cost-saving factor.
Furthermore, this technology can obtain similar, if not better results as compared to other depth-sensing methods.
This is true to such a large extent that even a multi-billion dollar organization such as Tesla has said “no” to using LiDAR in their autonomous vehicles and instead relies on the concept of Stereo Vision and RADAR!
Check out this cool video of Tesla’s technology from Twitter:
Obviously, Tesla is using 8 cameras instead of 2, as well as other sensors such as RADAR.
However, dipping our toes into the field of Stereo Vision is a great way to get started with Computer Vision and image-related projects. So let’s continue and learn more about what Stereo Vision is!
The basics of multi-view geometry
Epipolar Geometry.

Consider O and O’ as two pinhole cameras. Each camera can only ‘see’ in the 2-dimensional plane (x, y). If we focus on Camera O, the point x only projects to one point on the image plane. However, in Camera O’, we see how the different x points correspond to x’ points on the image plane of O’. With this setup, we can triangulate the correct 3D data-points through left-right photometric alignment and gain the ability to sense depth!
To dive deeper into Epipolar Geometry, check out this paper from the University of Toronto.
“So what are the steps to Stereo Vision?”
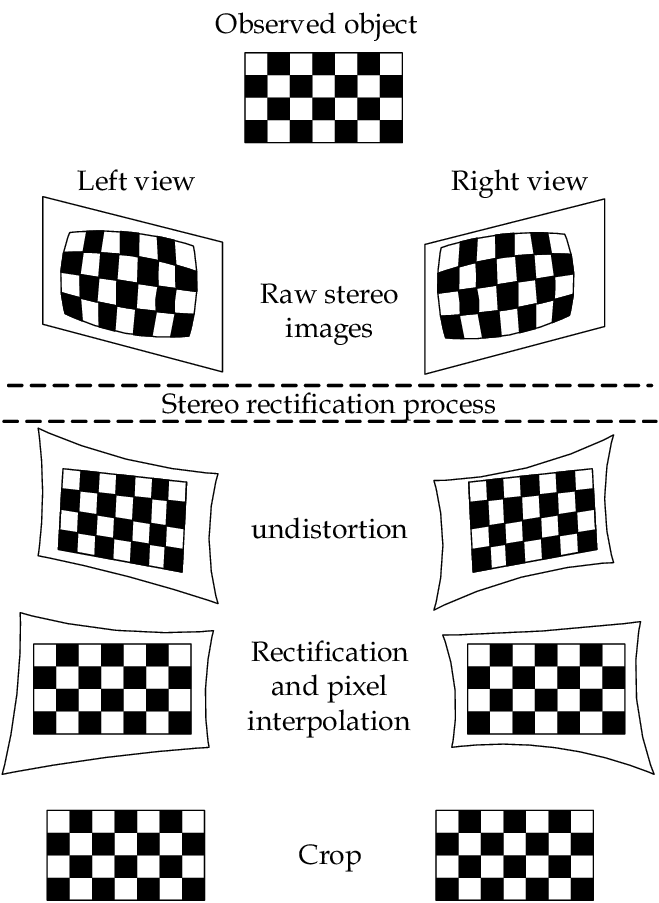
Stereo Vision mainly involves four stages.
1. Distortion Correction: This involves the removal of radial and tangential distortion that images suffer from due to camera lenses.
2. Rectification of the two cameras: This is a transformation process to project both images in a common plane.

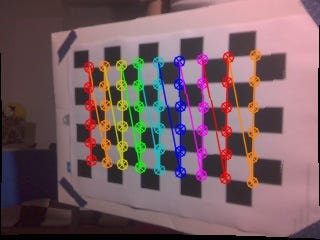
3. Point matching process: Here, we search for the corresponding points between the left and right cameras, rectifying both left and right images. For this we generally use a Chessboard.

4. Creation of the depth map!
“Can we make one ourselves?”
Yes! We absolutely can!
To begin on this project, we will require a few essentials.
- Jetson Nano Developer Kit B01 (with two CSI camera slots).
- Two Raspberry Pi cameras.
- Interest!
This project is a great way for beginners to step into the field of not just Computer Vision but Computer Science as a whole, picking up skills in Python and OpenCV.
I worked on this project during my internship at Singapore’s Government Technology Agency (GovTech) as an experiment to create an in-house alternative for the Intel Realsense Camera that is used in several projects.
I realised that there were not many tutorials regarding this topic. Therefore, I have created this series to share with beginners and enthusiasts much like myself to help accelerate their projects and learning journey.
To start creating your depth mapping machine…
Check out Part 2 here!
